Billing > APX > Recurring Payment Schedules
Amicus Cloud allows users to create, delete, suspend, and resume an APX Recurring Payment schedule for both the General Bank Account and Trust Bank Account.
The APX Recurring Payment schedules process APX payments based on the defined recurring period. The schedules are set up by your Firm Administrator and are available only after APX has been configured for your firm. See Setting up APX.
Multiple payment schedules can be created for a file.
● Accessing APX Payment Schedules
● Creating a New APX Recurring Payment Schedule
● Deleting or Suspending an APX Payment Schedule
There are three areas in Amicus Cloud where you can access APX Recurring Payment schedules:
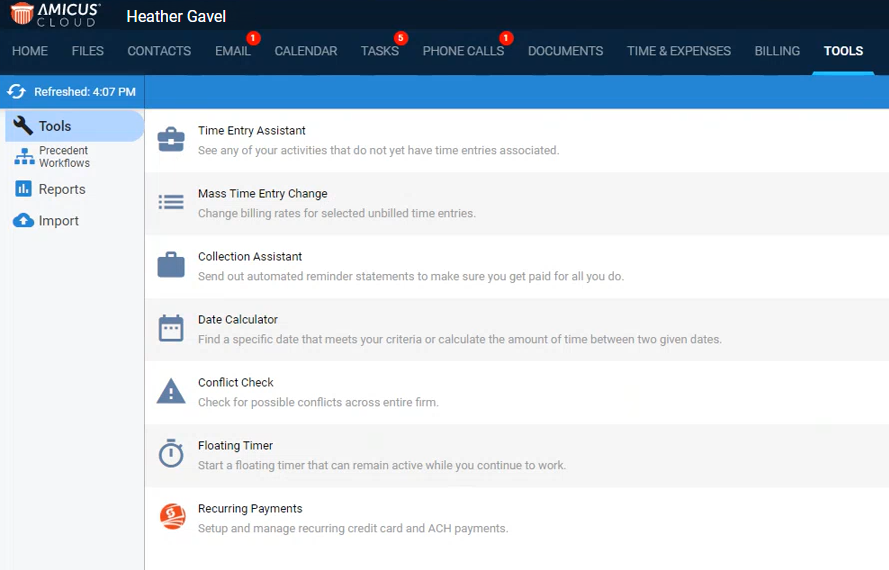
1. Select TOOLS in the main menu bar and select Recurring
Payments in the main screen to view APX
Recurring Payment schedules across the whole firm.
2. The Recurring Payments window opens.
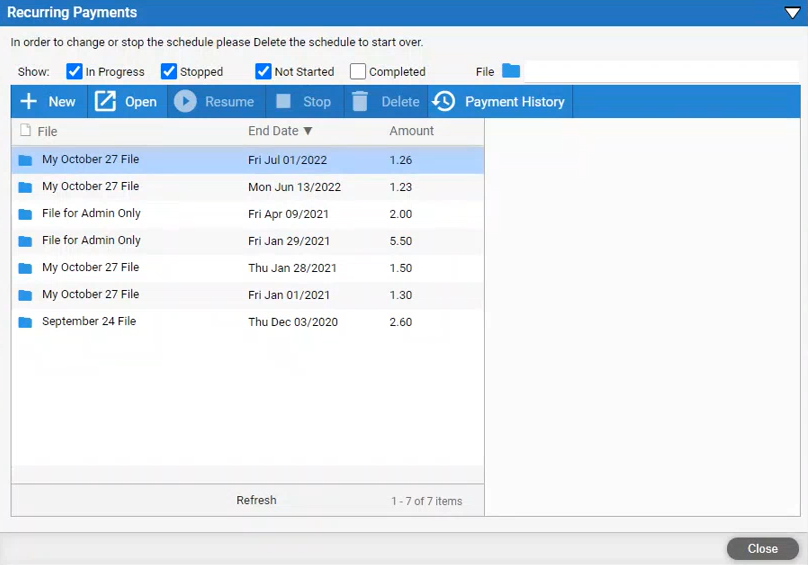
3. A list of
all the payments scheduled displays with the End Date
and Amount.
● Select/De-select
checkboxes in the Show: row to filter this list
by implementing restrictions.
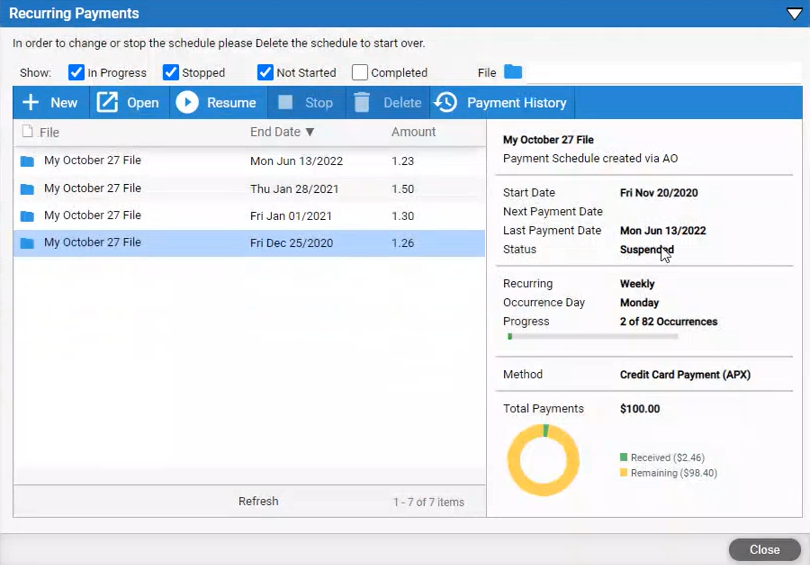
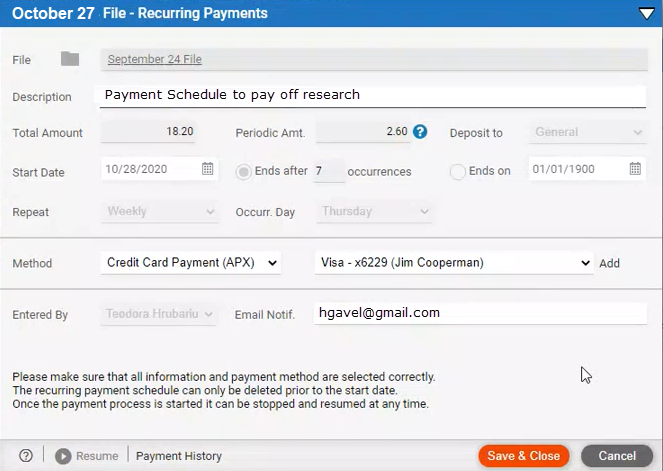
4. Select a schedule
to open it. Most of the fields are in Read-Only
mode as it is already defined. You can only change the payment Method
and Email Notification.

5. Select Payment History in the footer to view the payment
history.
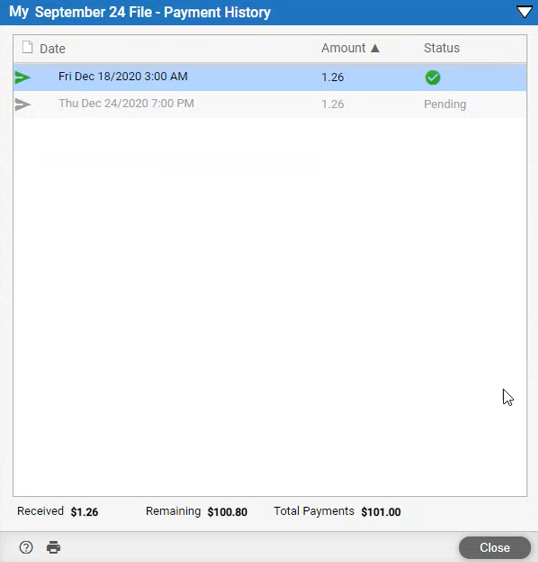
6. You can view
payments that are Done  and Pending under the Status
column.
and Pending under the Status
column.
You can also view APX Recurring Payment schedules across the whole firm in the Billing module.
1. Select BILLING in the main menu bar.
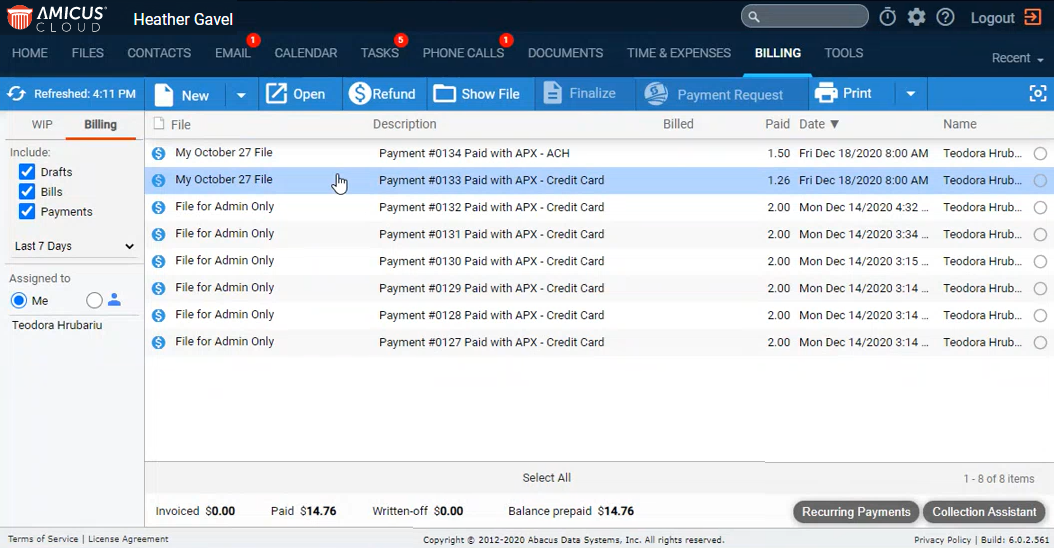
2. Select an
APX Recurring Payment schedule from the list
to open it.
The third place to view APX Recurring Payment schedules is in the file details.
1. Select FILES in the main menu bar and open a file in
the Files module.
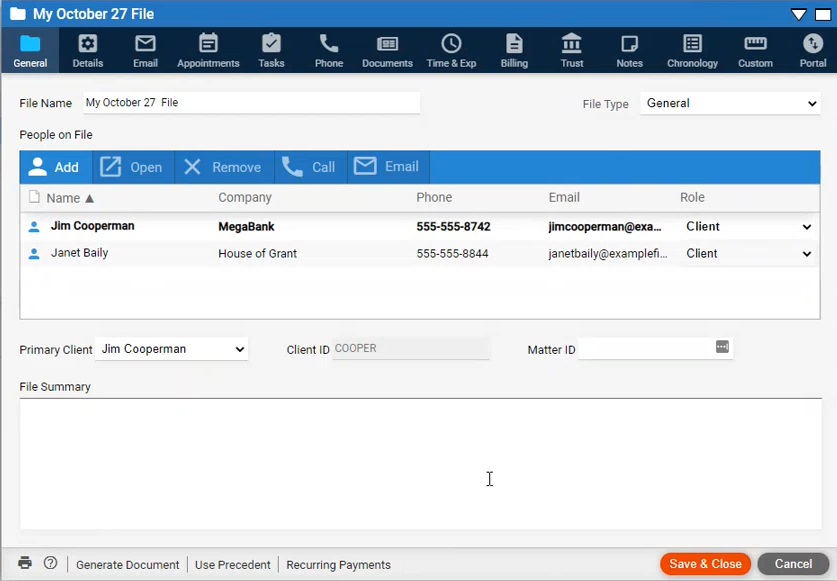
2. Click Recurring Payments in the footer to open the payment
schedules that pertains to that file.
1. Click New in the taskbar to display the New
Recurring Payment dialog.
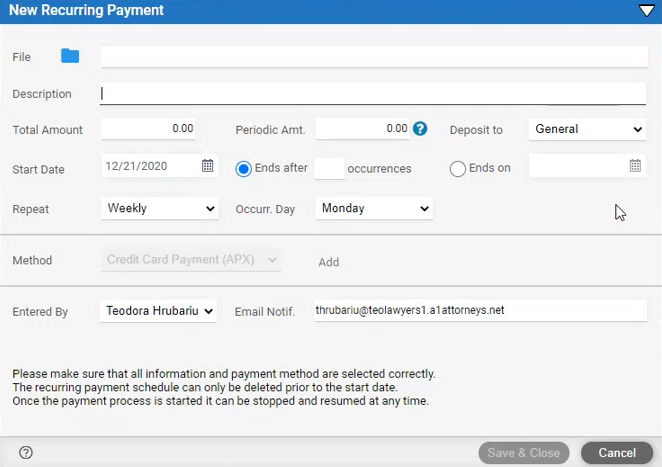
2. Complete the fields:
● Click the File icon to select a file.
● Enter a Description.
● Enter a Total Amount or a Periodic
Amt. Do not enter both.

● Select an option from the Deposit to field. If a Trust account has been defined for the file the option Trust will display in a drop down list. See Add Trust Accounts.
● Use the calendar controls to select a Start Date.
● Enter the number of payments in the occurrences field or the date the payments stop in the Ends on field.
● Select an option
from the Repeat drop down list.

● Select the day of the week from the Occur Day drop down list.
● The payment methods for the primary client are listed under Method.
o Select
a method. ACH Payment (APX) is supported.
● Select a credit card from the drop down list in the field beside Method or click Add to add a new credit card.
● Select your name from the drop down list in the Entered By field.
● Enter the address
where you would like to receive email notifications in the
Email Notif. field.

3. Click Save & Close to save the new APX
Recurring Payment schedule. A Success
prompt displays.
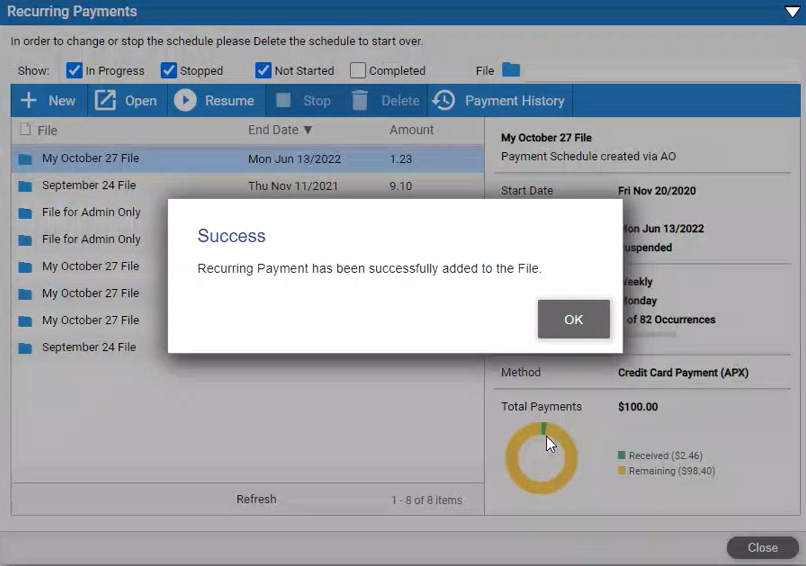
4. Click OK. The new APX
Recurring Payment schedule displays in the Recurring
Payments window.
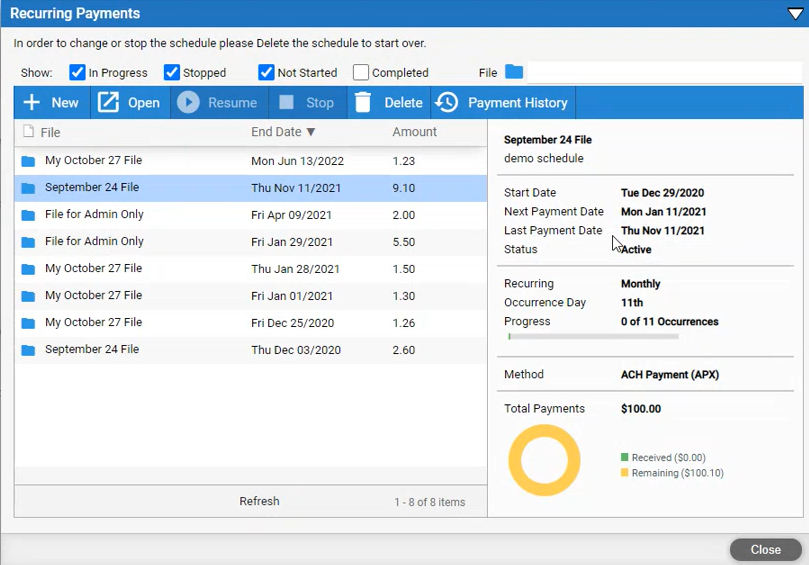
● Select the new APX Recurring Payment schedule in the main screen to view the details in the right-hand pane.
● The amount to be paid displays in the main screen under the Amount column.
● The End Date is completed by APX if this date was not specified. It is dependent on what was entered in the occurrences field.
● The Progress status bar will be updated accordingly.
You can delete the schedule when there are no payments by selecting Delete from the taskbar.
Once payments occur the Delete function is disabled.
You cannot change the amount of a payment. If you need to change the amount paid you must suspend the schedule by selecting Stop in the taskbar, then create a new one. See Creating a New APX Recurring Payment Schedule.
To resume an APX Recurring Payment schedule select Resume from the taskbar.
If there is no balance due on an Invoice the payment will go to the General Retainer. Payments are treated like regular APX payments and can be Voided if necessary. See Void and Refund an APX transaction.
● Manage Credit Cards/ACH for Contacts
● Void and Refund an APX transaction
Amicus Cloud (January 2023)
Copyright