 to display
the Options window, select Client
Portal from the navigation pane to display the Client
Portal window.
to display
the Options window, select Client
Portal from the navigation pane to display the Client
Portal window.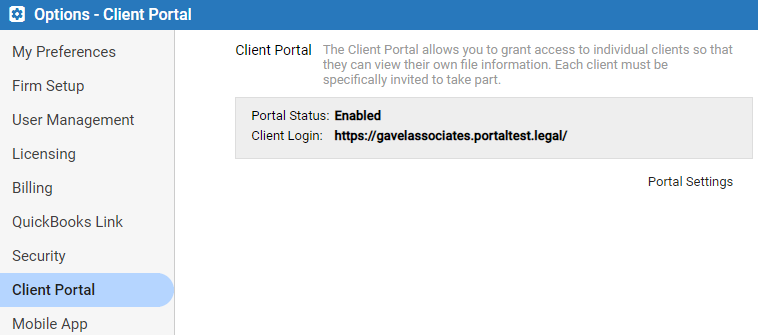
● As
the Amicus Administrator, go to Options
to display
the Options window, select Client
Portal from the navigation pane to display the Client
Portal window.
● Click Portal Settings.

● Firm Display Name – Your firm's name shown to clients on the Portal login page and home page.
● Firm Unique Login – Web address of your firm's Portal login page. If desired, edit the unique prefix (3 to 15 characters), and be sure to notify any existing Portal clients of the new address.
● Firm Logo – Optionally, upload your firm's logo for displaying to clients on the Portal login page and home page. A logo larger than 450 wide x 200 high pixels will be automatically reduced in size. JPG, GIF, and PNG formats are supported.
● Portal Invitations template – Email template for use when generating Portal invitations to clients.
 |
Important: |
To preview the Portal home page, click Preview Portal. This layout is what the client will see when they log in. It's just a preview, so the navigation is disabled.
● Set a firm member's Portal rights
● Invite a client to the Portal
● Check a client's or file's Portal status
● Manage a client's Portal access
Amicus Cloud (January 2023)
Copyright