
● If a client's invitation has expired or been lost
● If a client forgets their password or wants to change it
● If a client forgets your firm's Portal web address
● If a client's email address is changed later
● If a client's name is changed later
● Disabling a client's Portal access
To send a client a new invitation, you'll need to disable and re-enable their Portal access.
1. Click Manage Portal in their contact details.
● Note which of their files are shared.
2. Clear the "Allow..." checkbox, and click Save & Close.
● This removes their Portal account. (You can clear the checkbox only if you have access to all the files that are currently shared to the client.)
3. Click Manage Portal in Contact Details again.
4. Reselect the "Allow..." checkbox.
● Select the appropriate email address from the drop-down list (if necessary).
5. Reselect the files to be shared (if necessary).
6. Click Send Invitation. This generates an email to the client, containing a link that will allow them to set up their Portal access again.
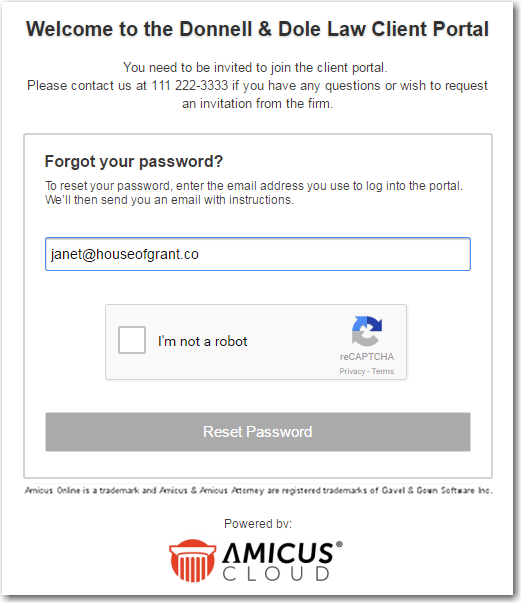
A client can change their password themselves:
1. On the Portal
login webpage, click Need Help.
2. Enter the email address they use for logging in, and click Reset Password.
3. In the email sent to them, click the link to a webpage that will allow them to enter their new password.
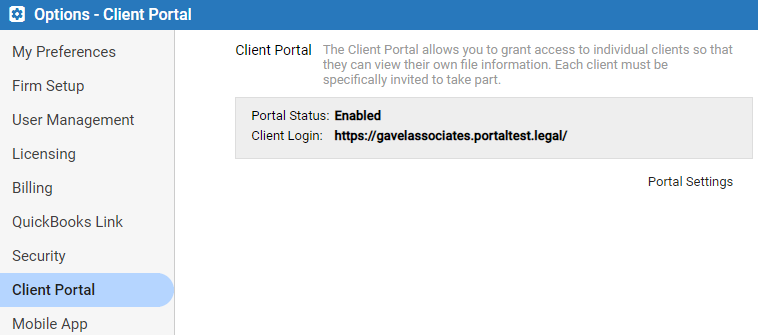
The web link is shown in your Options > Client Portal. You can copy it from there and send it to the client.
A client's login name for the Portal is the email address selected when they were invited. It is shown in the Client Portal dialog, available by clicking Manage Portal in their contact details (or by clicking Portal Invite in file details for a file that they are a client on).

● Changing that email address in the Contact view of their contact details will not affect their existing Portal login credentials—they may continue using their old login name.
● However, if
a client wants to use a new login name that corresponds to a different
email address, you'll need to disable and re-enable their Portal access,
and send a new invitation, and the contact will need to configure their
access again.
1. Ensure that the desired email address is stored in the Contact view of their client details.
2. Click Manage Portal in their contact details.
● Note which of their files are shared.
3. Clear the "Allow..." checkbox, and click Save & Close. This removes their Portal account. (You can clear the checkbox only if you have access to all the files that are currently shared to the client.)
4. Click Manage Portal in Contact Details again.
5. Reselect the "Allow..." checkbox.
● Select the appropriate email address from the drop-down list (if necessary).
6. Reselect the files to be shared (if necessary).
7. Click Send Invitation. This generates an email to the client, containing a link that will allow them to set up their Portal access again.
If you change a client's name in their contact details after they've been invited (e.g. it might have been misspelled), the old name will continue to appear in the Portal and in any new documents and notes they add. To have their new name appear in those places, you'll need to disable and re-enable their Portal access, and send a new invitation, and the contact will need to configure their access again.
1. Click Manage Portal in their contact details.
● Note which of their files are shared.
2. Clear the "Allow..." checkbox, and click Save & Close. This removes their Portal account. (You can clear the checkbox only if you have access to all the files that are currently shared to the client.)
3. Click Manage Portal in Contact Details again.
4. Reselect the "Allow..." checkbox.
● Select the appropriate email address from the drop-down list (if necessary).
5. Reselect the files to be shared (if necessary).
6. Click Send Invitation. This generates an email to the client, containing a link that will allow them to set up their Portal access again.
If your firm has concluded business with a client and no longer wants to provide Portal access to them, click Manage Portal in their contact details and, in the Client Portal dialog, clear the "Allow..." checkbox.
(You can clear the checkbox only if you have access to all the files that are currently shared to the client.)
● Share documents, notes, appointments, and tasks with clients
● To Share file custom fields with clients
Amicus Cloud (January 2023)
Copyright