
Or, click the down arrow on the Create Invoice button, and choose Simple Invoice or Detailed Invoice.

Billing > Create an invoice and finalize a bill
Preview the invoice(s) for a draft bill, and finalize the bill if desired.
1. From a Draft
Bill window, click Create Invoice.
Or, click the down arrow on the Create Invoice
button, and choose Simple Invoice or Detailed
Invoice.
2. Examine the
invoice(s) created from the bill
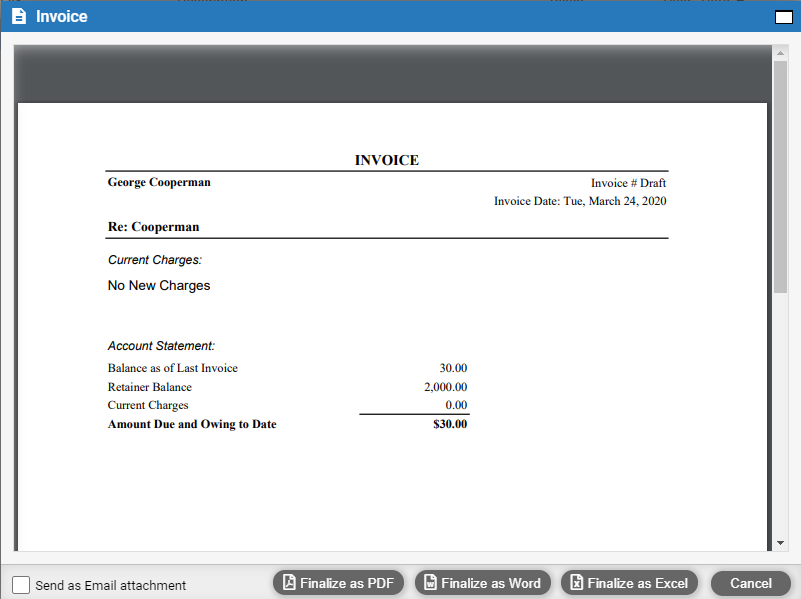
● If creating invoices for a client who has multiple files, a separate invoice is shown for each file, on a separate page.
● The PDF controls provided for printing and navigating the invoice(s) depend on your particular browser.
3. Finalize the bill
● Select or clear the "Send as email attachment" option: When you finalize the invoices on a bill, a new email will open automatically with details filled in and the invoice(s) attached.
● Click Finalize as PDF, Finalize as Word, or Finalize as Excel: If multiple invoices are created for a client, they will be stored separately. If an invoice is for a file set for e-billing, it is created and stored in the appropriate .TXT format as well.
● If sending the invoices as an email attachment: In the email that appears, edit the message and other fields as desired and then send it. If you are billing a client for multiple files together, the invoices for each of those files are sent in separate PDF, Word, or Excel attachments on a single email. If an invoice is for a file set for e-billing, an appropriate .TXT format attachment is sent instead—it includes appropriate task-based billing LEDES 1998B format data, for processing by the client.
● The bill is left as a draft bill and invoice numbers are not assigned.
● Batch billing - Create multiple draft/final bills
● Batch billing - Finalize draft bills, creating invoices
Amicus Cloud (January 2023)
Copyright