Precedent Workflows > Copy a precedent workflow
Copying an existing workflow that contains reusable content already configured in a previous workflow saves a lot of time.
To copy an existing precedent workflow:
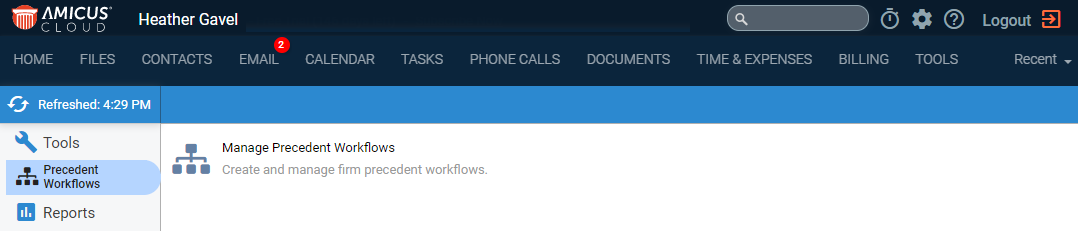
1. Click Tools from the menu bar, select Precedent
Workflows from the navigation pane, click Manage
Precedent Workflows in
the main screen to
display the Precedent Workflows window.
2. Select a workflow
from the list and click Open from
the taskbar.
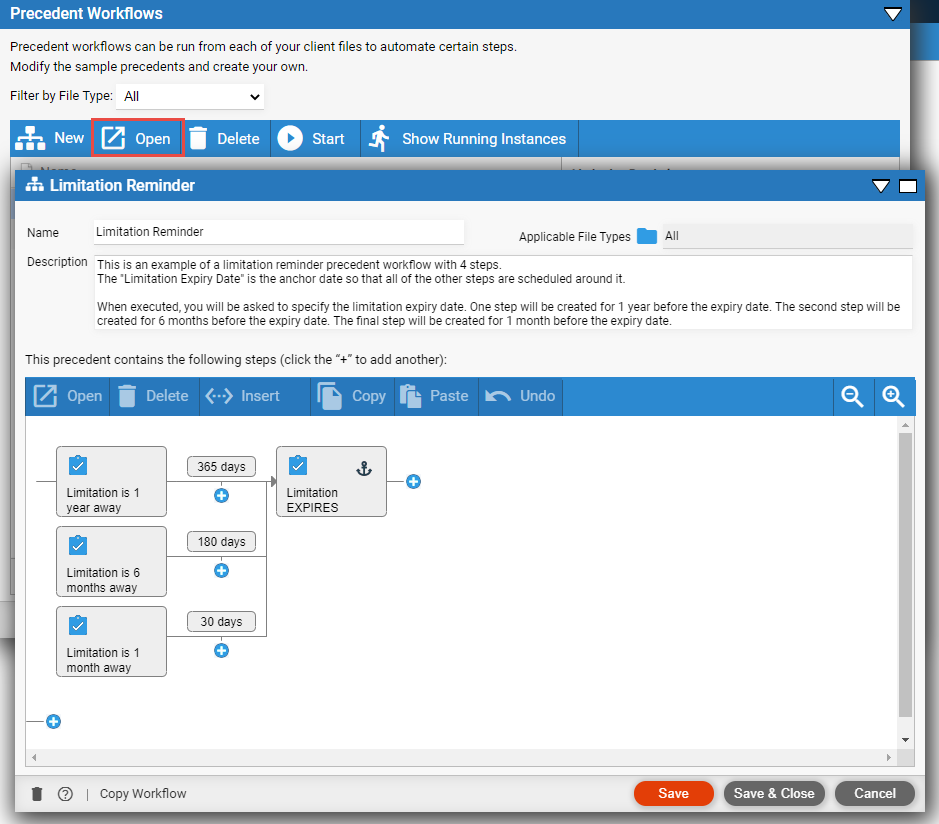
3. Click Copy Workflow in the footer to display a new dialog. Enter a new name in the Name field.
4. Click Save.
5. Click the plus sign where you want the step added.
● Click the plus sign to the right of an Appointment or a To Do to add another (dependent) step to a chain.
● Click the plus sign next to the margin, below another step to add the first step in a new chain, independent of the one above.
● Click the plus sign under the line joining 2 steps to add the first step in a subchain that's dependent on the step to the left, but independent of the step(s) above.
|
Tip: To change to full-screen mode, click the button at the top right corner of the window. |
6. Choose the type of step: appointment or task.
7. Fill in the appointment/task details. Select firm member and/or contact roles where appropriate.
1. Select the
step that you want a new step added next to, and click Insert.
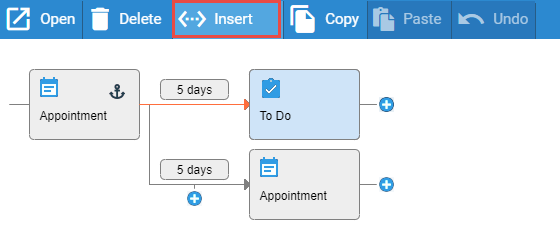
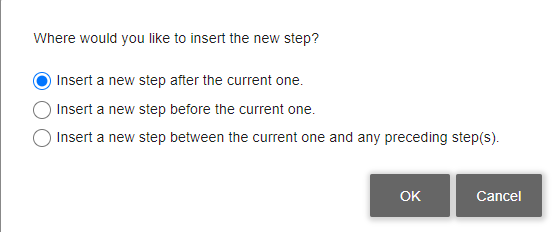
2. Choose where you want the new step inserted.
● After the current
step, between it and any later step(s)
In a task details screen, click Select
next to "DO Button".
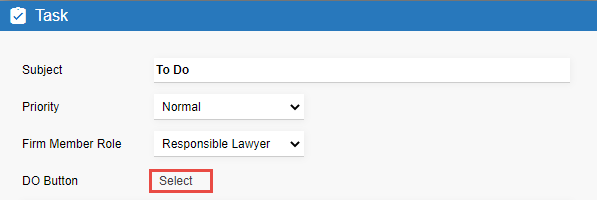

Choose the type of automation (send email, generate document, make phone call, etc.), and enter details. Select firm member and/or contact roles where appropriate.
When the workflow is applied and this task is generated,
a DO button will be provided in lists and the item details. Simply click
it to start the predefined action.

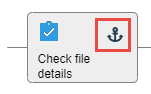
Each chain of steps in a workflow requires that one step
be marked the anchor—by default, this is the first step at the left margin.
You'll need to specify the date of each anchor step when applying the
workflow to a file. The other steps in a chain will be scheduled based
on the anchor step. In the Workflow Editor screen, an anchor step is indicated
by an anchor.
If desired, mark a different step in a chain as the anchor.
In the appointment or task detail, click the Set as
Anchor button. For example, the anchor step might be a real estate
transaction closing date or a court date, and the other steps be the expected
events preceding or following it.


In the above chain:
o Task D is the anchor step.
o Tasks C and E are dependent on Task D's date.
o Tasks B and F are dependent on Task C.
o Task G is dependent on Task F.
o Tasks A and H are dependent on Task B.
To edit the time relationship between two steps in a chain, double-click the timeline bubble between them.
o If this step is to the right of the anchor step in the chain, schedule it relative to its left neighbor. In the following example, Task C starts 5 days after Task B.
o If this step is to the left of the anchor step in the chain, schedule it relative to its right neighbor. In the following example, Task A starts 5 days before Task B.
● If the neighboring step is an appointment, schedule this step to start a specified number of days before or after the neighbor's end date.
● If the neighboring step is a task, schedule this step to start a specified number of days before the neighbor's start or due date, or after the neighbor's start, due, or completion date.
● If this step is a task, you can optionally schedule its due date a specified number of days after its start date. And if so, indicate what to do if that due date falls on a weekend or holiday. For the list of holidays, see Holidays.
● Instantiated means that the appointment or task now appears in the calendar/appointment list or task list, as appropriate.
● If this step is to the right of the anchor step, it is instantiated when its neighboring step completes (or when the workflow is applied, depending on the option you select then).
● If this step is to the left of the anchor step, it is instantiated when the workflow is applied.
● If this step follows 2 parallel steps, it is instantiated when both of those prior steps are done (or when the workflow is applied), and is scheduled to start on a date that meets each of the timeline criteria.
● The step, and any dependents, are moved relative to its neighbor.
● View the precedent workflows list
● Apply a precedent workflow to a file
● Reschedule events created from a precedent workflow
● Customize precedent workflow features
Amicus Cloud (January 2023)
Copyright
