
Amicus makes it easy to send email. Optionally, a timer starts automatically when you open a new email.
Did you know? No matter where you do your email—on your smartphone or your iPad, in Outlook on your PC, or in Calendar on your Mac—your Amicus Cloud email can appear in all of them. If your email app connects to your Amicus email account, updates made anywhere appear in the others, so your email list is always current! To find out more, see Configure apps and devices to connect with your Amicus account. |
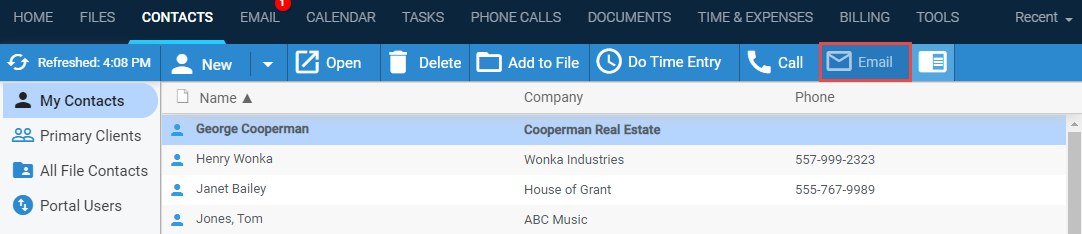
● From the Amicus taskbar in any view
● Or, from the contact list in the Contacts main view or the General view of a file
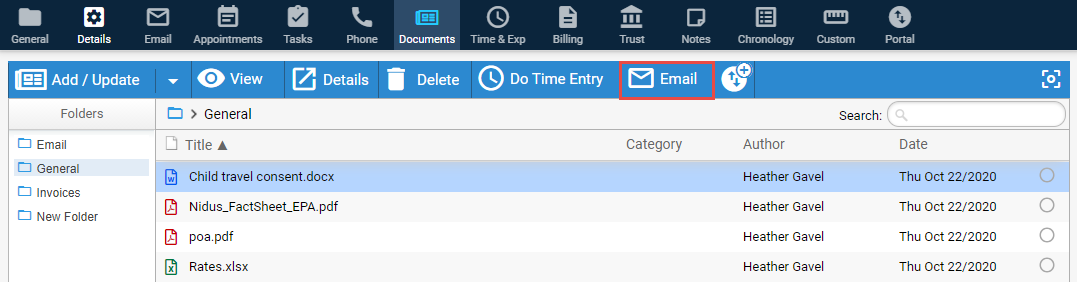
● Or, from the Documents main view or the Documents view of a file
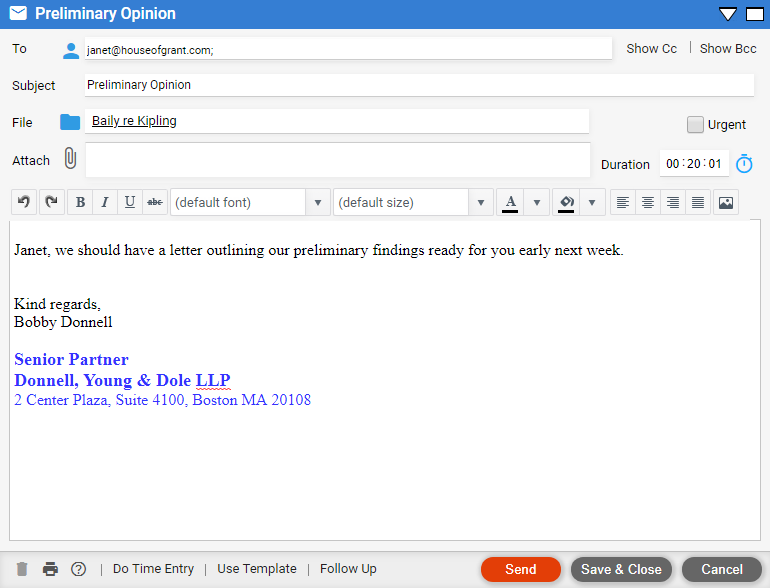
If done from a view of a file, the file is assigned by
default.
● Identify
recipients by typing: Type the name or email address of a person
in the To box.
After you've typed at least the first 3 characters of a name or address,
Amicus attempts to resolve it, providing a dropdown list of matching contacts
and firm members for easy selection. You can type the start of any word
in the name—e.g. typing "joh" finds the individuals "Johnny
Smith" and "Peter Johanson", the company "West Johnsville
Realty Inc.", and the address "johathaway@gollywow.com".
Send to multiple people: Type a
semicolon and space between each name.
Show the Cc and/or Bcc box: Select
the corresponding option at the top right.

● Identify
recipients from the Select Contacts window: Click the people icon
for a window from which you can select contacts and firm members, or even
create new contacts.
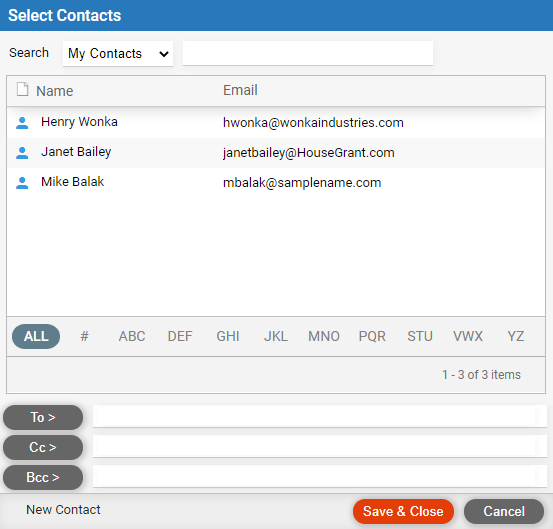
Filter the list: Filter to your
contacts or the firm members (and user groups). Or filter the list to
the name of a particular person by typing their name in the search box
at the top of the window.
Assign a person: Select them in
the list and then click To, Cc, or Bcc as desired. Or simply type their
names or email addresses in those boxes.
Create a new contact: Click New Contact. They will be added
to the To list.
● File: Email on a file will be accessible by all users assigned to that file.
● Duration:
Optionally, the duration timer starts automatically in a new email, or
a Draft email you've opened. To stop it, click Stop. To start it running
again, click the stopwatch icon. When the timer is not running in the
email, you may type the duration. The timer will stop automatically when
you send or save the email, or do a time entry on the email.
In a Sent email, the duration (hours:minutes) will be shown next to the
Do Time Entry button at the bottom (unless a time entry has already been
created).

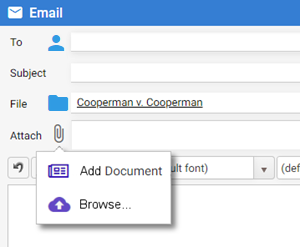
● Attachments: You can add one or more attachments. To add attachments, click the paperclip icon.
o Select Browse... to open the Browse window and select an item from your desktop or network.
o Select Add Document to select a file from the Document Selector window containing all the documents for the associated file.
o To
remove an attachment, click the X button to
the right of its name.
● Urgent: Mark the email as Urgent (high importance) if you like.
● Message and signature: Enter the message. The email signature set in your preferences is added automatically to the message.
● Full screen mode: Click the button at the top right corner of the window. Additional formatting commands are available on the toolbar in this mode.
● Use
Template: To generate the message via the document assembly feature,
click Use Template and select a document template. If necessary, identify
the file and/or contact to base the output on.

● Time entry: Optionally create a time entry for the email. You can set a preference to have a time entry automatically created whenever you send a new email, or have a prompt appear.
● Click Send to send and close the message, or Save and Close to just save it as a Draft.


● Identify the file and/or contact to base the output on.
● Review the generated output.
● Click Send or Save and Close.

 icon.
icon. 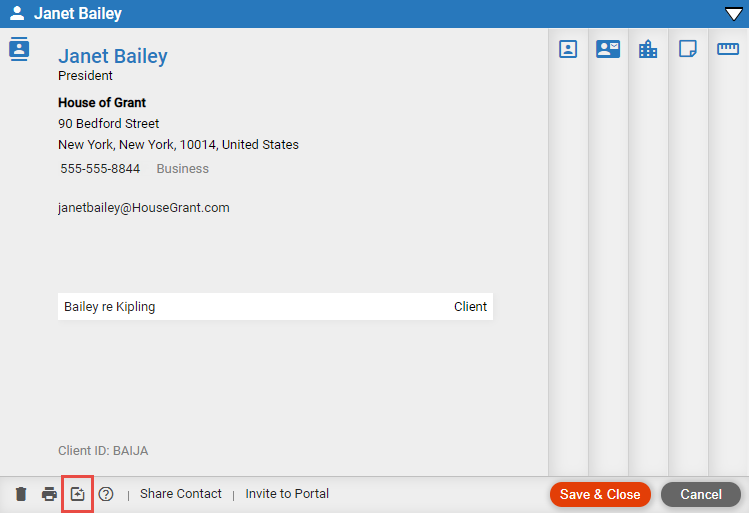
● Identify the file and/or contact to base the output on.
● Find and select an email template.
● Click Generate.
● Review the generated output.
● Click Send or Save and Close.
● Save an email as a document on a file
Amicus Cloud (January 2023)
Copyright