You can invite a contact only if:
Your Amicus administrator has enabled the Client Portal for the firm, and given you security rights to invite clients and share items.
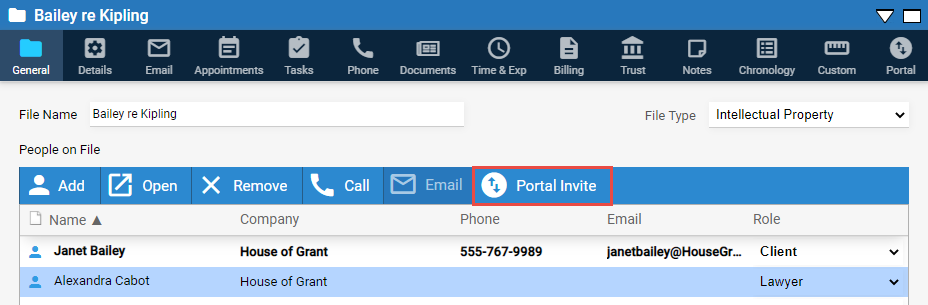
The contact is assigned the "Client" role on at least one file that you have access to.
The contact has a unique email address stored in the Contact view of their record.
From the General view of a file details, select a contact and click Portal Invite
Or, from a contact's details, click Invite to Portal
Client receives the invitation, sets up their access, and logs in
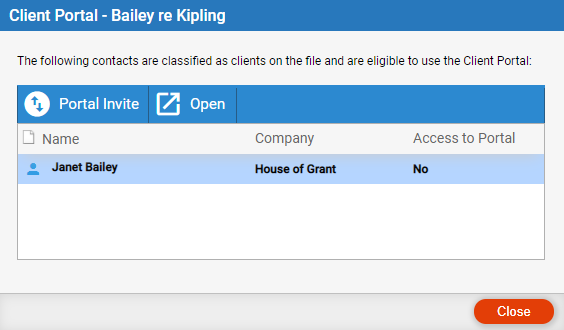
If the contact is a Client on only one file, you're prompted to
generate an invitation email directly—skip to step 5.
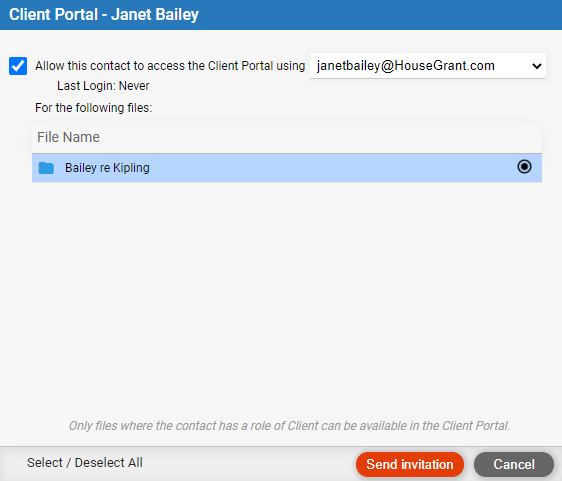
Select the "Allow this contact..." checkbox.
Select one of the contact's email addresses to send the invitation to, and to be used as their login name.
Select one or more files to share with the client now. Your selections can be changed later if necessary.
Click Send Invitation.
An email to
the client is generated. The email contains a link that will allow the
client to set up their Portal access and then login.
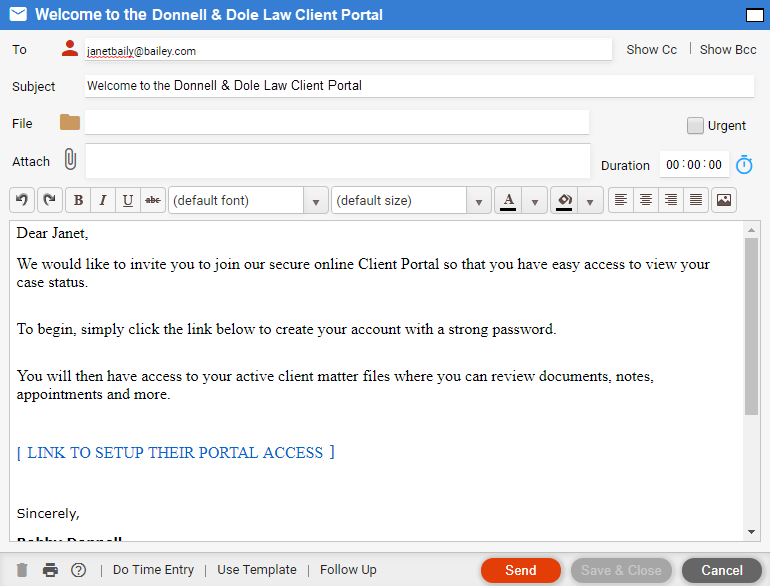
Optionally, edit the email before sending it. Do not edit the "[THIS TURNS INTO A LINK FOR THE CLIENT TO SETUP THEIR PORTAL ACCESS]" placeholder.
The invitation expires after 1 week. It will enable only one person to set up Portal access, even if you send the email to multiple people.
![]()
Proceed as described above.

Proceed as described above.
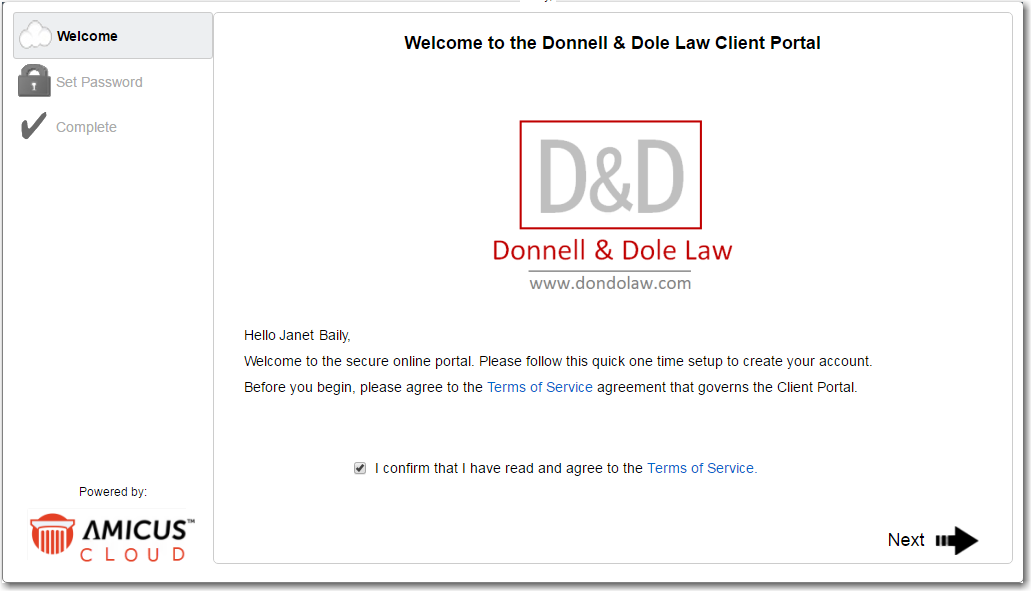
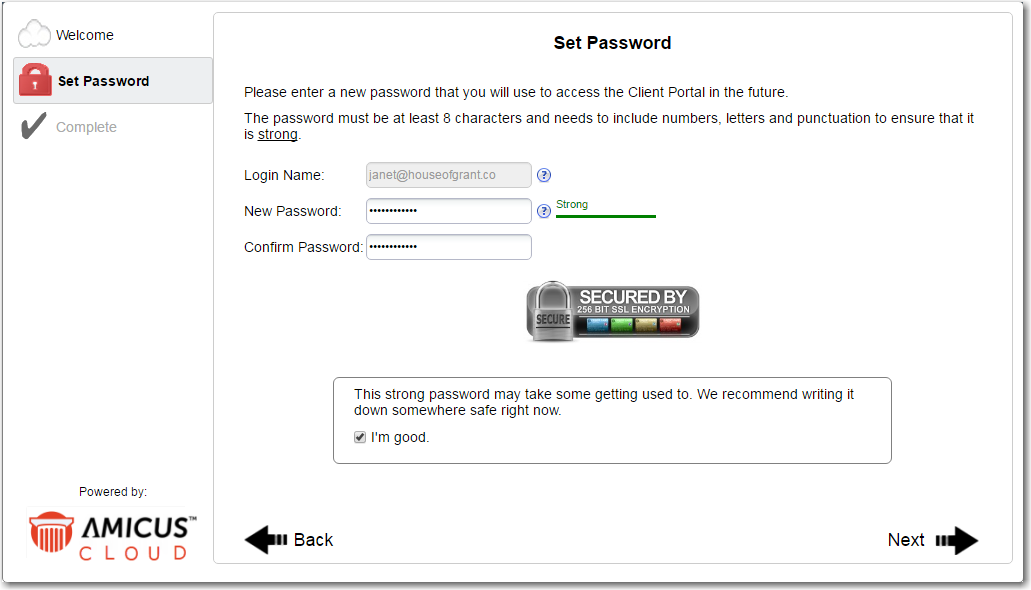
When the Client clicks the "Setup your Client Portal access" link provided in the invitation email, they are asked to agree to the Terms of Service and enter the password they want to use for logging in to the Portal.
Upon completion, the client will receive a confirmation email with their
login credentials. A notification email is also sent to the responsible
lawyer on each of the files that were shared.
At the Account Created screen, the client can click Login if they like.
Subsequently, clients will need to login at the firm's unique login page (e.g. https://donnelldole.portal.legal), using their email address as their login name.
Share documents, notes, appointments, and tasks with clients
Share file custom fields with clients
View a list of items shared with clients on a file
Apprised of changes made by clients or firm members
Clients using the Client Portal