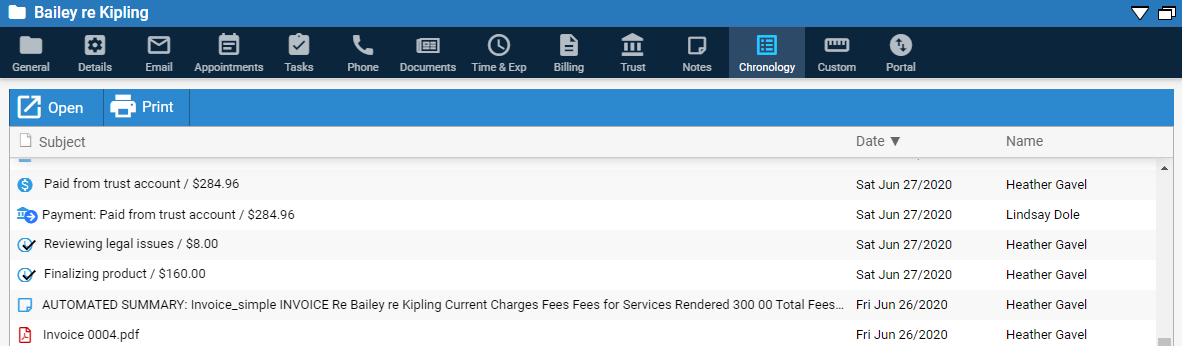
Click the Chronology tab to review a combined list of items related to a file such as email, appointments, tasks, phone calls, documents, time entries, and expenses.
If you are designated a billing user or supervisor, the file's bills, payments, and trust transactions are also listed.
Open and Print display in the Taskbar.
Select Open to open the item.
Select Print to print out a Chronology report or save the report to PDF, Word or Excel.
An icon displays in the first column so you can easily identify the item.
The Subject is appended for some items to ensure that adequate information is displayed.
Email – "To/From Name" is appended to the left of the email subject
Phone – "To/From Name" is appended to the left of the phone call notes
Time Entry – "/ $" is appended at the end of the description
Expense – "/ $" is appended at the end of the description
Payment – "/ $" is appended at the end of the description
Draft Bill – "/ $" is appended at the end of the description
Invoice – "/ $" is appended at the end of the description
Trust Transaction –
"/ $" is
appended at the end of the description
The short Date format is used for all items.
Displays the Name of the creator for all of the records.
Items created in the Client Portal show the Client name.
Select Reports > Files from the navigation pane, double-click File Chronology to display the Select File window and select a file.
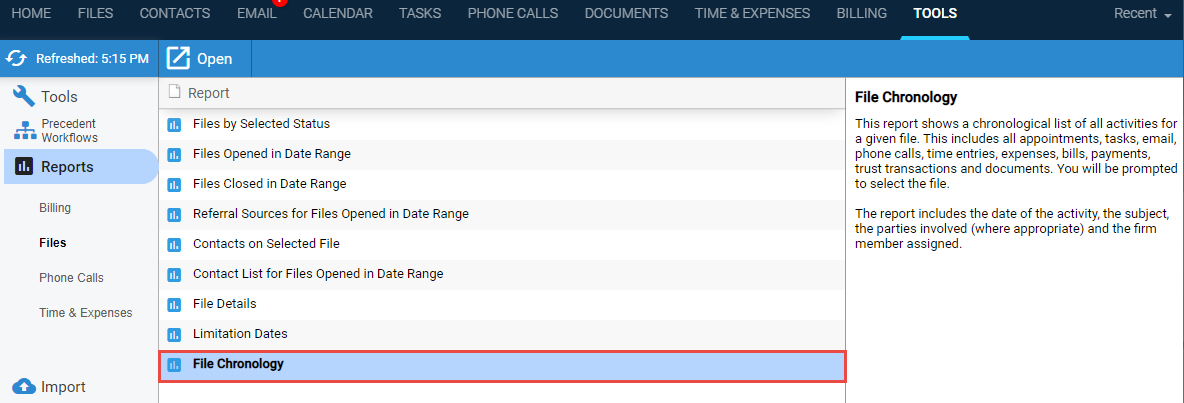
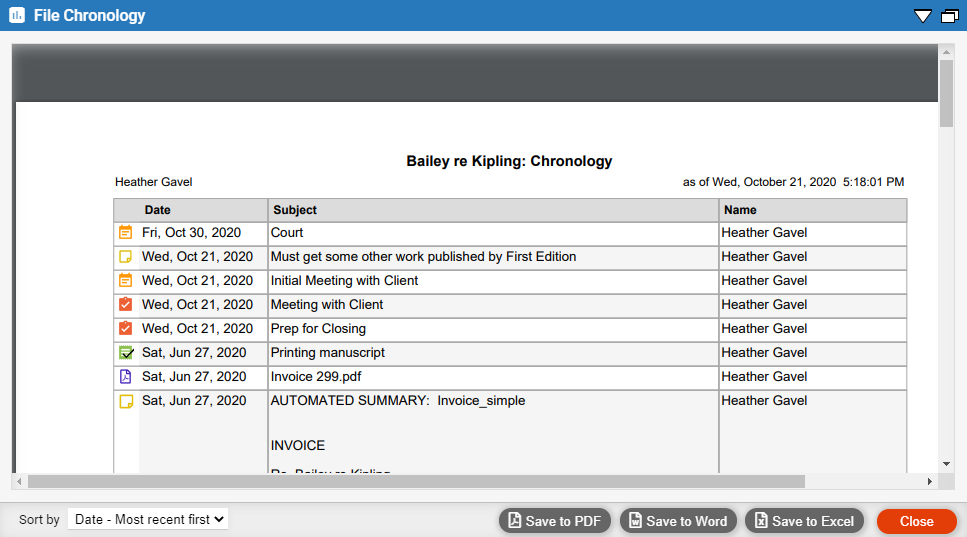
Sort, print, or save the report. (The PDF controls provided for navigating the report depend on your particular browser)